Joints & mobility Guide
TPLO recovery in dogs: a week-by-week guide after cruciate ligament surgery
TPLO recovery in dogs, week by week: rest, rehabilitation, warning signs and getting back to normal walks after cruciate ligament surgery.
Key takeaways
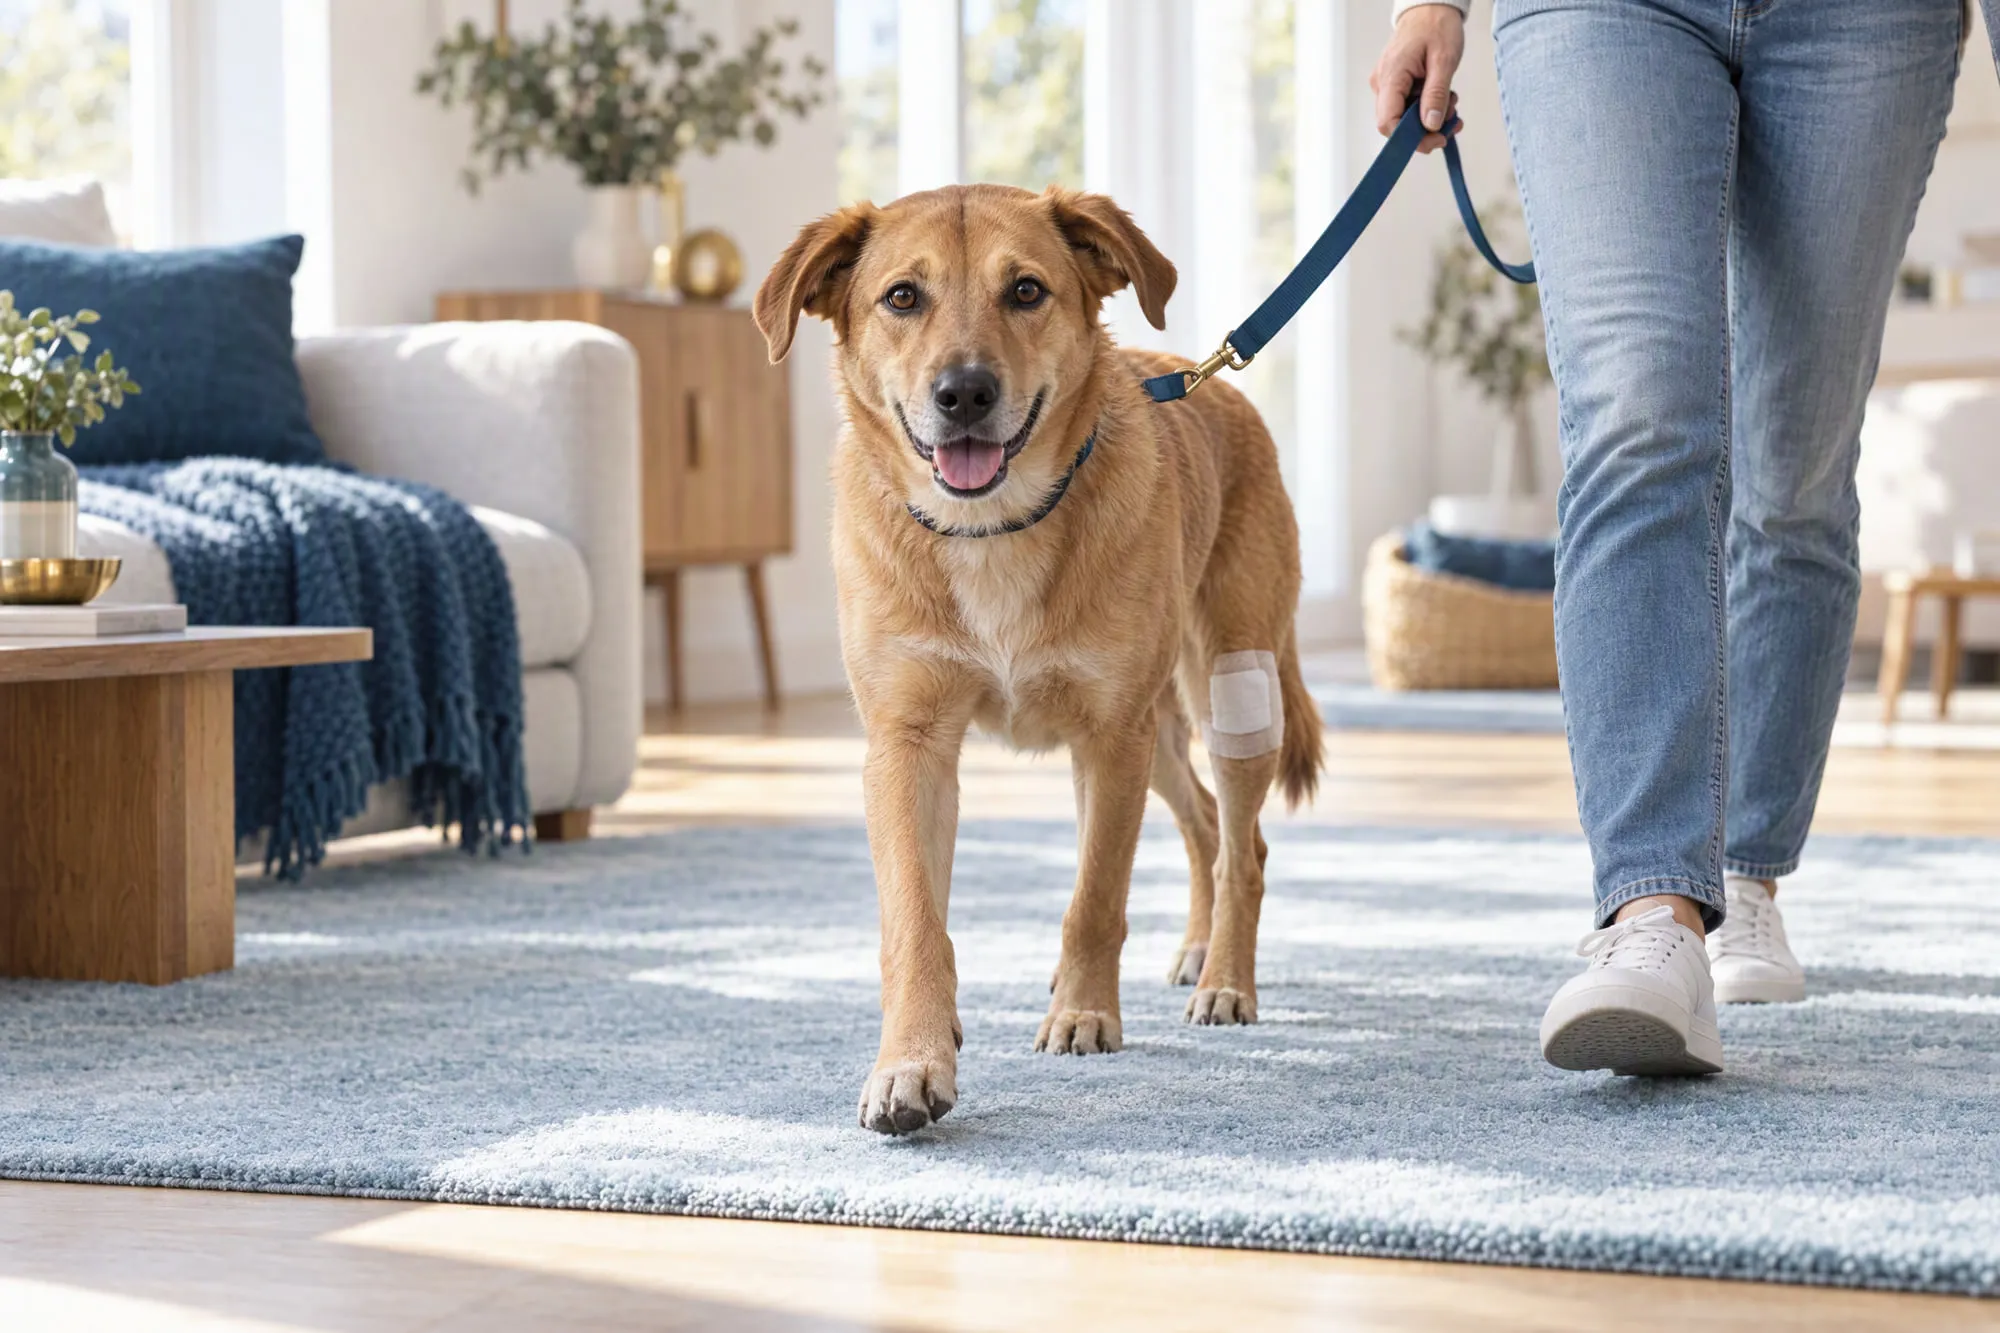
- After TPLO surgery, around half of dogs are already putting the leg down within 24 hours, and most are bearing weight properly by about 2 weeks.
- The first 8 weeks are crucial: short-lead outings only, no jumping, no stairs and no off-lead play while the bone heals.
- A check-up X-ray at around 6 to 8 weeks decides the next steps: longer walks, hydrotherapy, then a return to play at around 4 months and to sport at around 6 months.
- Rehabilitation (cold therapy, exercises, controlled walking) improves recovery: a review of 19 studies mainly supports therapeutic exercise and cold compression.
- A red or weeping wound, a leg held up again, lethargy or refusing food: call your vet straight away.
Contents
TPLO recovery happens in stages: one to two weeks for the wound to heal, about eight weeks of very controlled rest while the bone knits together, then two to four months of gradual return to activity. Most dogs are walking without a limp again by around 10 weeks and are back to full activity at around 6 months. Your role during this time is essential: here is the week-by-week timeline, the rehabilitation exercises and the signs that should ring alarm bells.
TPLO in a nutshell: why recovery is so tightly controlled
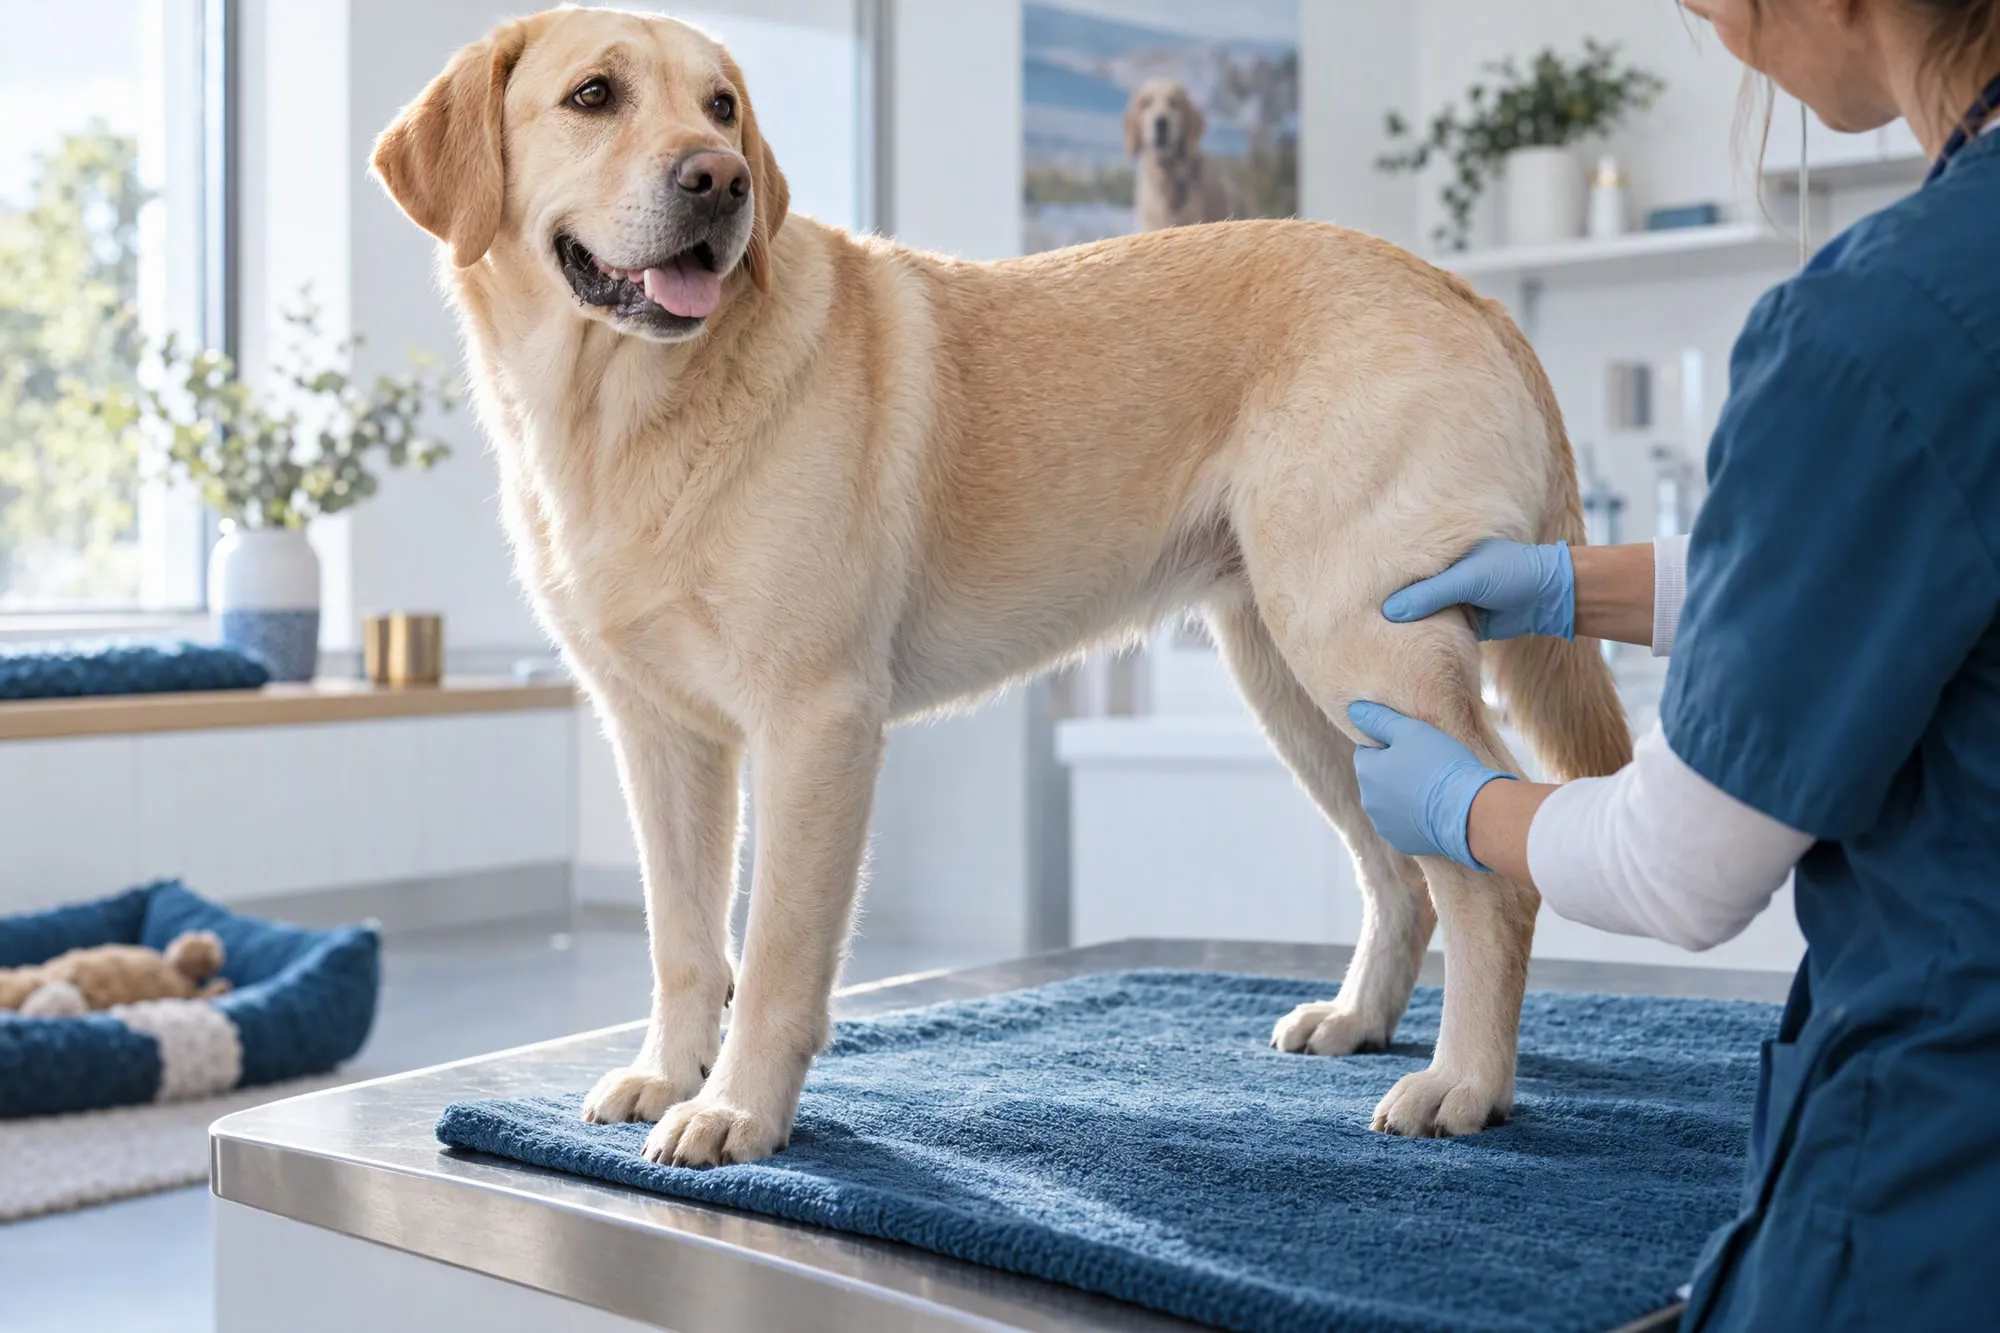
TPLO (tibial plateau levelling osteotomy) is the most widely used technique for surgery on a cruciate ligament rupture in dogs of medium to large size. The surgeon doesn’t replace the ligament: they cut the top of the shin bone (tibia) in a curve, rotate it so that the tibial plateau is almost level, then fix it in place with a plate and screws. The knee becomes stable without the ligament, because the thigh bone no longer ‘slides’ forwards each time the dog puts weight on the leg.
This stability depends on one condition: that the cut bone heals properly. Until it has healed, the plate takes all the strain. A jump off the sofa, a sudden dash after a cat or a slip on a tiled floor can be enough to shift a screw, crack the bone or damage the meniscus. That is why the rest instructions seem so strict, even though your dog often feels better very quickly.
According to the ACVS (American College of Veterinary Surgeons), 85 to 90% of dogs that have surgery show a clear improvement, and most return to an active life. A review of 72 studies published in 2022 also notes that TPLO comes with a lower rate of surgical site infection than TTA, the other main technique (Wemmers et al., 2022).
TPLO recovery: the week-by-week timeline
This timeline is a guide only. It is based on the stages described by the ACVS and VCA Animal Hospitals and on common rehabilitation protocols. Your surgeon’s instructions always come first, as they take into account your dog, their weight, the state of the meniscus and how the operation went.
| Period | What happens | Outings and activity usually allowed | Your role |
|---|---|---|---|
| Days 1 to 3 | Home from the vet practice; pain controlled by the prescribed treatment; around half of dogs put the leg down within 24 hours | 5-minute toilet trips on a short lead, with a harness or a towel sling under the belly | Cold on the knee if prescribed, a thick bed in a confined space, cone |
| Week 1 | The wound heals; the dog touches the ground with the leg, often just with the toes | 3 to 4 outings of 5 minutes a day, on the lead only | Check the wound morning and evening, give all prescribed medicines |
| Week 2 | Stitches or staples removed at around 10 to 14 days; moderate to full weight-bearing in most dogs | 3 to 4 outings of 5 to 10 minutes | Start the exercises your vet has shown you |
| Weeks 3 and 4 | Weight-bearing becomes more even, the thigh starts to rebuild muscle | Outings of 10 to 15 minutes on the lead, on flat ground | Sit-to-stands, weight shifts, slow walking |
| Weeks 5 and 6 | The bone continues to heal | Outings of 15 to 20 minutes, still on a short lead | Add about 5 minutes a week if the limp doesn’t get worse |
| Weeks 7 and 8 | Check-up X-ray of bone healing | If healing is complete: 20 to 30 minutes, gentle slopes, hydrotherapy possible | Review the next stage of the programme with the surgeon |
| Weeks 9 to 12 | By around 10 weeks, most dogs no longer limp visibly | Longer walks, varied ground, stairs introduced gradually | More demanding strengthening exercises, ground poles |
| Month 4 | Normal walking and play; only the most intense activities are still restricted | Short off-lead sessions in a quiet, enclosed area | Watch how your dog is the day after each new activity |
| Month 6 | Return to full activity for most dogs | Running, ball games, gradual return to sport (agility, canicross) | Always warm up, keep your dog at a healthy weight |
The first 3 days: managing pain and rest
Your dog will usually come home the same day as the operation or the day after. They may be drowsy, a little nauseous from the anaesthetic, and may whine or pant the first night. Give the prescribed medicines exactly as directed (painkillers, veterinary anti-inflammatories, sometimes antibiotics), right to the end of the course, even if your dog seems fine. If your vet has advised it, apply a cold pack wrapped in a cloth to the knee, never putting ice directly on the skin.
Weeks 1 and 2: the wound comes first
The priority is for the wound to heal without infection. Check it twice a day: slight redness and a small bruise are common, but discharge, a smell or swelling that is getting bigger are not. The cone (or a post-operative recovery suit) stays on until the stitches are out: a single bout of determined licking can be enough to open up or infect the wound.
Weeks 3 to 8: the hardest phase for owners
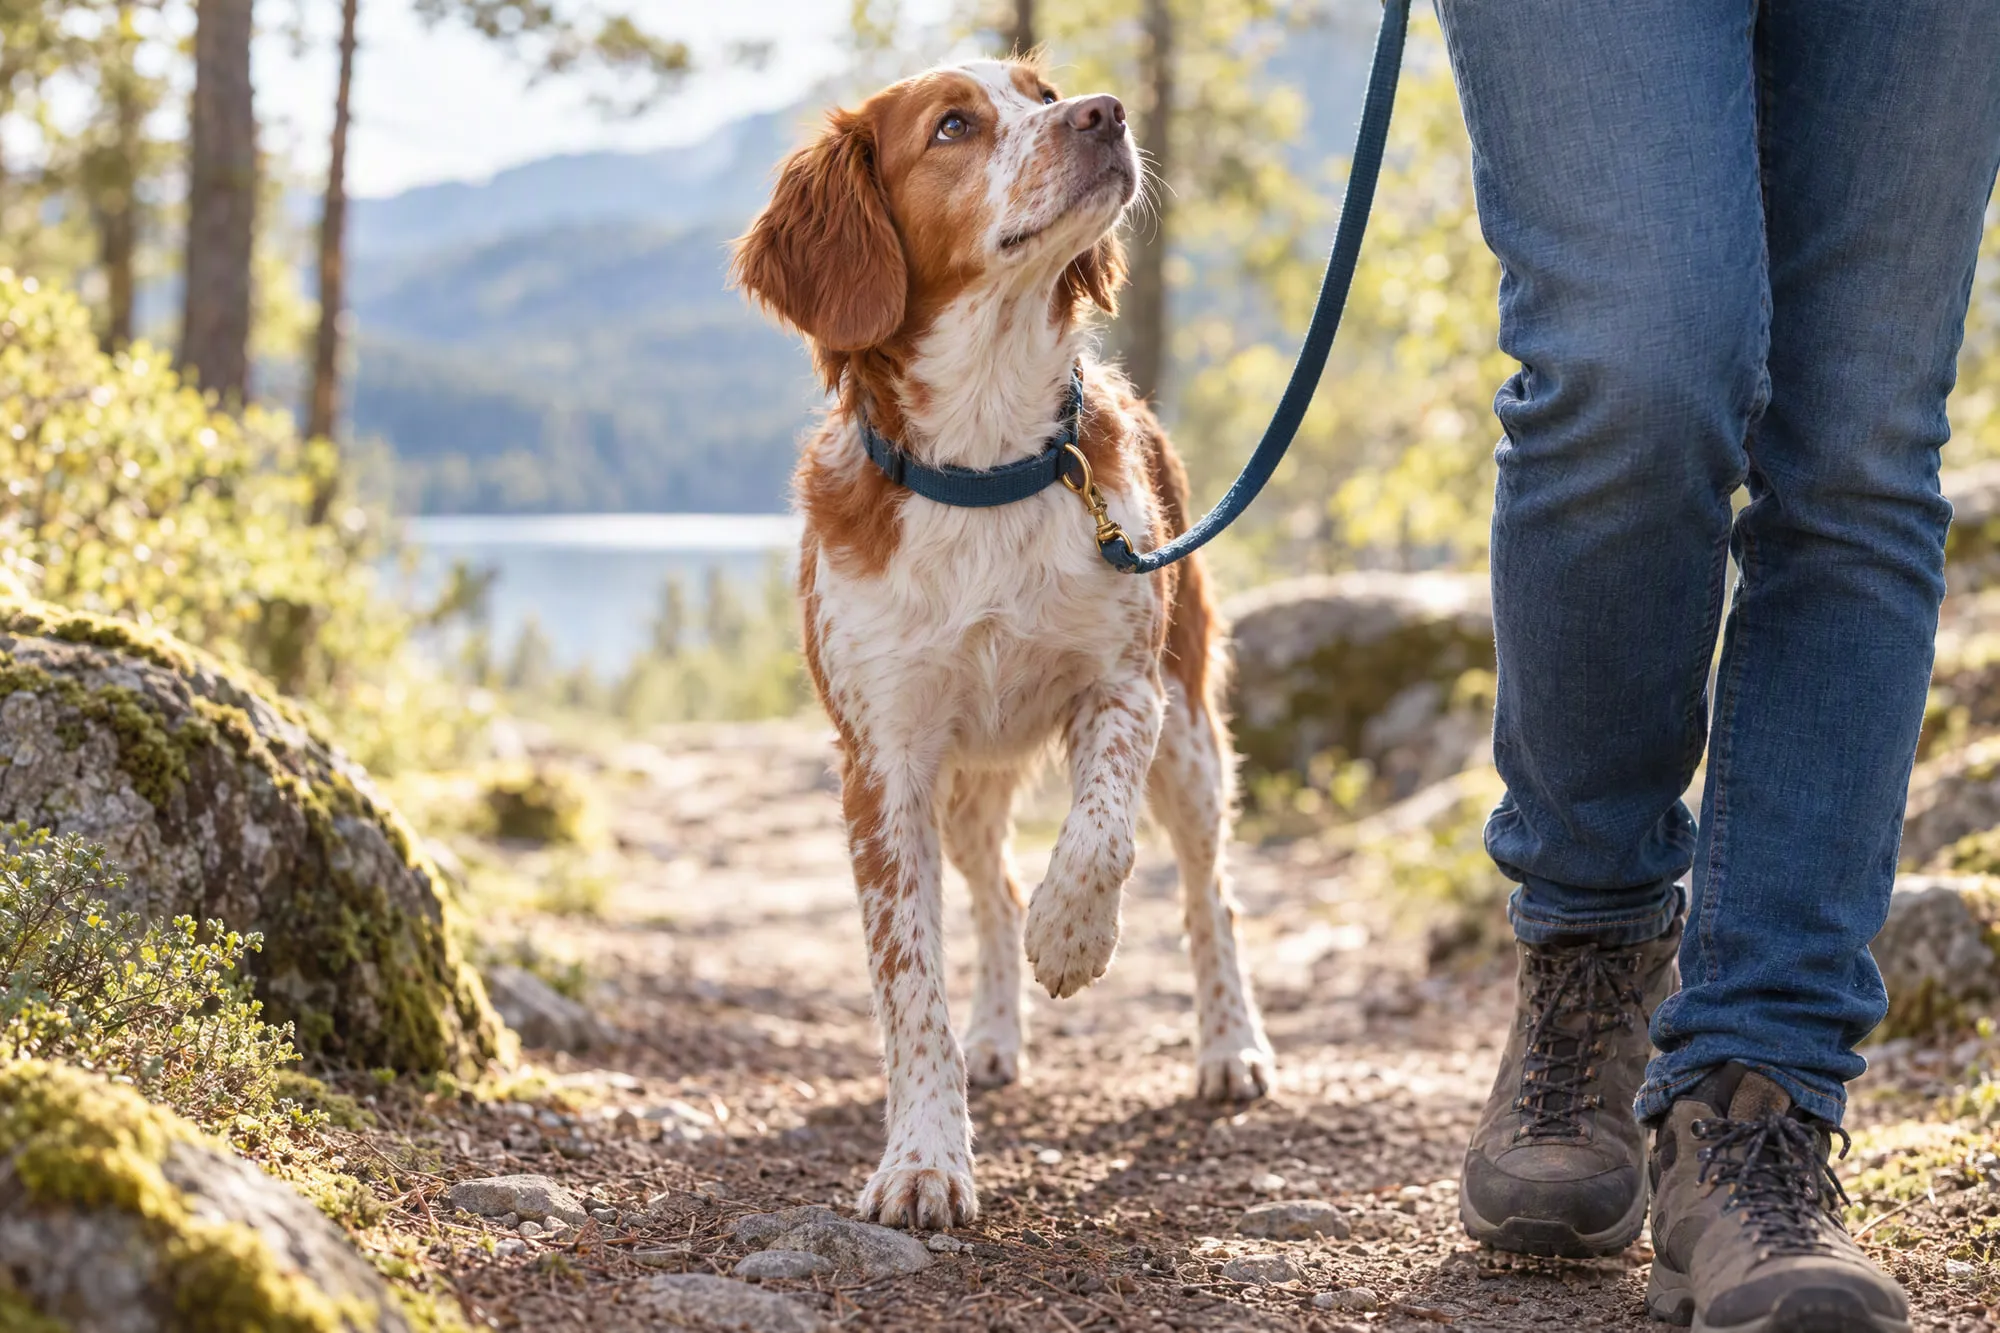
This is often the riskiest period. Your dog is bearing weight well, is in less pain and wants to play… while the bone has not yet healed. Hold firm: the lead stays on for every outing, including in the garden. Progress is measured by how evenly your dog puts weight on the leg and how the thigh muscle is building back up, not by how keen your dog is to run.
After the check-up X-ray: a gradual return
If the X-ray shows good healing, the programme expands. The rule is simple: one new thing at a time, and watch your dog the next day. If your dog is limping more or seems stiff, go back to the previous stage for a few days.
Rehabilitation after TPLO: what the research says
A systematic review of 19 studies on rehabilitation after cruciate ligament surgery concludes that it improves recovery (Alvarez et al., 2022). Therapeutic exercise is the most studied, and cold compression has three studies in its favour, two of them of good methodological quality. In an older trial of 8 dogs that had TPLO, those on a physiotherapy programme three times a week had, at 6 weeks, better thigh muscle and a more mobile knee than those who only went on walks at home (Monk et al., 2006).
In practice, a programme supervised by a vet with rehabilitation training or a veterinary physiotherapist, possibly including hydrotherapy once the bone has healed, is a real plus. Our guide to dog physiotherapy and hydrotherapy explains what the sessions involve.
Three exercises to do at home
Only start when your vet says you can, and stop if your dog is in pain, lifts the leg or tenses up.
Gentle knee bends
- Lay your dog on its side, operated leg uppermost, on a comfortable bed.
- Hold the thigh with one hand and the lower leg just above the ankle (hock) with the other.
- Slowly bend the knee until you feel slight resistance, then straighten it in the same way.
- Repeat 10 to 15 times, always slowly, keeping an eye on your dog’s expression and ears.
Good to know: only do this exercise in the first few days if your vet has shown you how. It should never make your dog whimper.
Slow walking with stops
- Shorten the lead so your dog walks beside you, at a walk.
- Walk very slowly: a dog walking fast can ‘cheat’ by shifting weight onto the other legs.
- Every 20 to 30 seconds, stop and have your dog stand still for a few seconds, all four paws on the ground.
- Set off gently again and lengthen the outing according to the timeline above.
Good to know: a dog that puts the leg down firmly when standing still is an excellent sign of progress.
Ground poles
- Lay 4 to 6 broom handles on the ground, spaced roughly your dog’s height at the withers apart.
- Walk your dog over the poles on the lead.
- Do 3 to 5 passes in each direction.
- When this is easy, raise the poles by just a few centimetres.
Good to know: keep this for after the check-up X-ray, at around 8 weeks. Your dog should step over the poles, never jump.
You will find more progressive routines in our exercises for dogs with arthritis, all of which can be done at home.
Organising your dog’s recovery after cruciate surgery
Recovery should be planned before the operation. A few simple changes make the eight weeks of rest much easier.
- A limited rest area: a dog pen, a small room or a large crate, with a thick, firm bed. Your dog should not be able to run about when you are not there.
- Floors that don’t slip: non-slip rugs or runners of yoga mats along the usual routes.
- No sofa, no bed, no stairs: stair gates, a ramp for the car, and carrying for a small dog.
- A support harness or a towel passed under the belly to help your dog get up and walk in the first few days.
- Things to do without moving about: snuffle mats, stuffed toys, approved chews, short calm training exercises. A bored dog is harder to keep quiet.
- An adjusted food allowance: activity drops sharply for two months. Ask your vet how to adjust the ration to avoid weight gain, which would put extra load on the operated knee.
These changes will also come in handy later on: our article on home adaptations for a senior dog has more practical ideas for older dogs and dogs with arthritis.
Dog limping after TPLO: when to worry
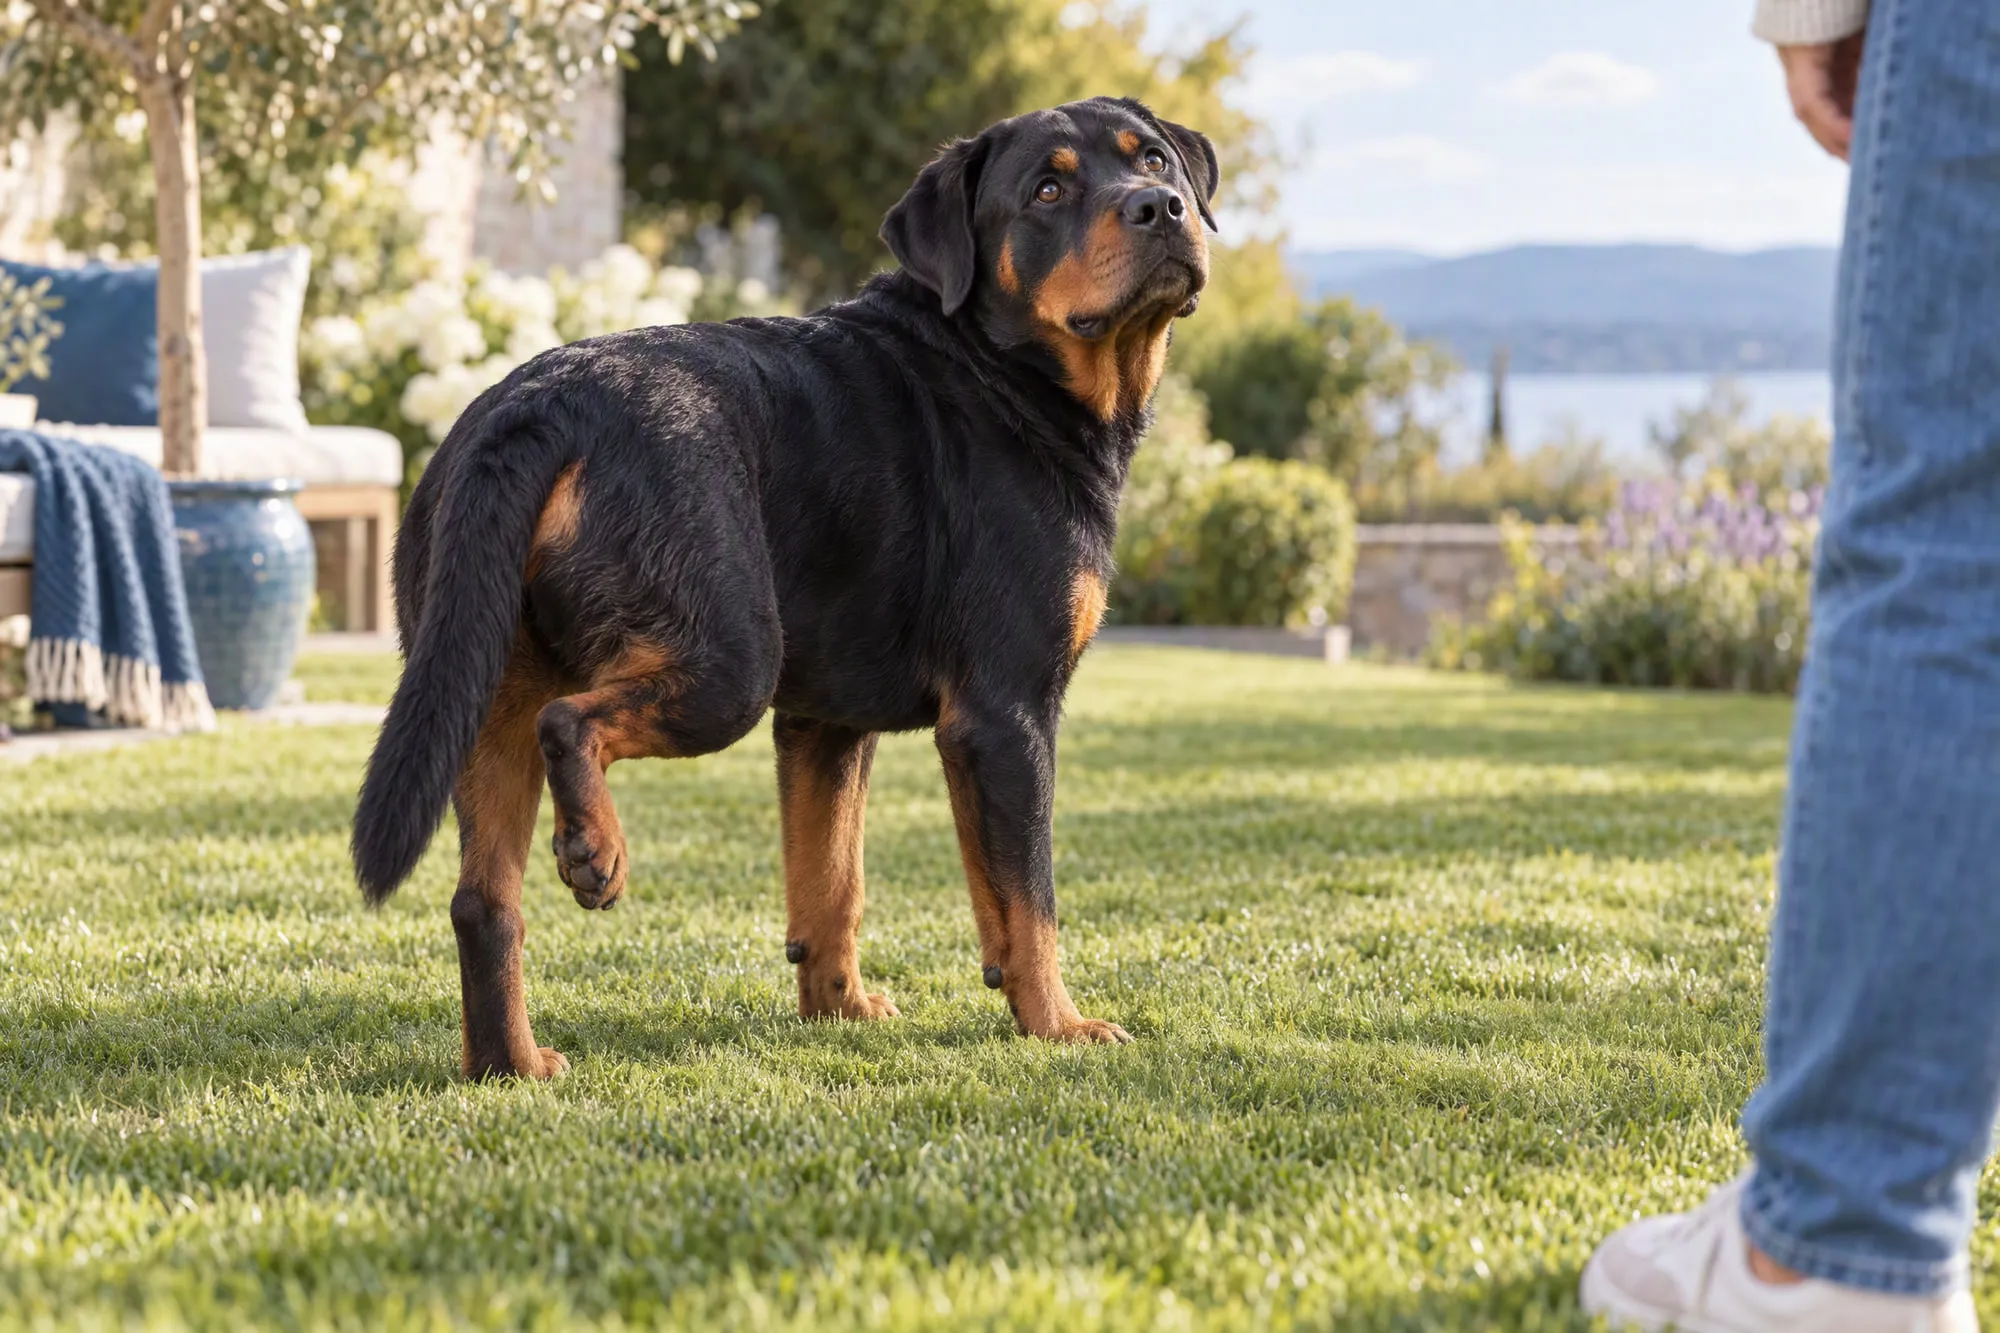
A limp that gets better week by week is normal. What should worry you is a sudden change or progress that is heading in the wrong direction. According to VCA Animal Hospitals, complications affect on average 10 to 30% of dogs depending on the study, often in a mild form, and infection is the most common.
If the limp lasts beyond 3 months or affects the other leg, our article on a dog limping on a back leg will help you take stock before your appointment.
After recovery: protecting the operated knee… and the other one
A successful TPLO stabilises the knee, but it doesn’t undo wear that is already there: arthritis in the knee can progress over the years, though more slowly than in a knee left unstable. Above all, according to the ACVS, 40 to 60% of dogs affected on one side will at some point develop the same problem in the other knee, often within 12 to 18 months of the diagnosis.
- Keep your dog slim: you should be able to feel the ribs easily. Being overweight is a recognised risk factor for cruciate ligament disease. Our guide to overweight dogs and joint health explains how.
- Favour regularity: moderate daily activity is better than big efforts at weekends.
- Warm your dog up: 5 to 10 minutes of walking before running or playing.
- Limit repeated ball throwing and sharp turns on slippery ground.
- Keep an eye on the other leg: sitting lopsided, stiffness on getting up or an intermittent limp are reasons to see your vet promptly.
Key points on TPLO recovery
TPLO gives excellent results, provided you respect the pace at which bone heals: eight weeks of patience on a short lead, regular rehabilitation, then a gradual return to activity up to 4 to 6 months. Note your dog’s progress every week, film your dog walking for the check-ups and don’t hesitate to call your vet if you have any doubts. For more, see all our advice on dog joint health.
Frequently asked questions
How long will my dog limp after TPLO surgery?
Some limping is normal for the first few weeks. Most dogs bear moderate to full weight on the leg by about 2 weeks, and no longer show a visible limp by about 10 weeks. A limp that suddenly comes back after a period of improvement, however, is a reason to call your vet.
When can my dog use the stairs after TPLO?
Stairs should be avoided for the first 8 weeks: carry a small dog, or support a large dog with a harness for the few steps you can’t avoid. After a satisfactory check-up X-ray, the surgeon will usually allow stairs gradually, on the lead and slowly.
Can my dog be left alone at home after TPLO?
Yes, as long as your dog is in a small, safe space (a pen, a small room or a large crate) where it can’t run, jump or slip. Leave the cone on if your dog tends to lick the wound, and give an approved chew toy to keep your dog occupied.
What complications can happen after TPLO?
The most common is infection at the surgical site. Other complications are possible: implant problems, fracture, a late meniscal injury or ongoing lameness. Depending on the study, they affect on average 10 to 30% of dogs, often in a mild form, and strictly sticking to rest reduces the risk.
Does the TPLO plate need to be removed?
No. In the vast majority of cases, the plate and screws stay in place for life without bothering the dog. They are only removed if there is a problem, such as irritation or infection around the implant.
This article is for information only and does not replace a veterinary consultation. If in doubt, or if your dog is in pain or changes suddenly, contact your vet.
Sources and references
- Cranial Cruciate Ligament Disease
- Cranial Cruciate Ligament Repair: Tibial Plateau Leveling Osteotomy (TPLO)
- Systematic review of postoperative rehabilitation interventions after cranial cruciate ligament surgery in dogs (Alvarez et al.)
- Effects of early intensive postoperative physiotherapy on limb function after tibial plateau leveling osteotomy in dogs with deficiency of the cranial cruciate ligament (Monk et al.)
- Surgical treatment of cranial cruciate ligament disease in dogs using TPLO or TTA: a systematic review with a meta-analytic approach (Wemmers et al.)